All Categories
Featured
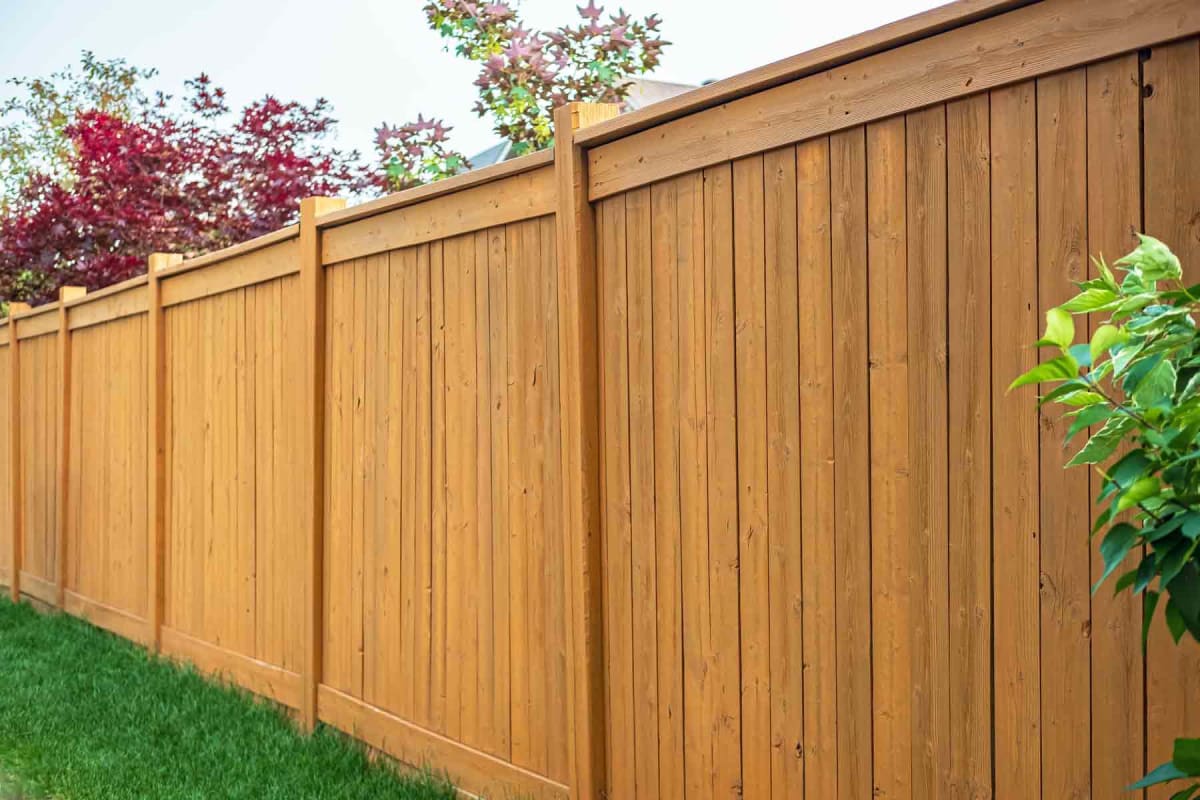
Fence posts are the backbone of any type of durable fence, giving important assistance and structure. In time, they may receive or lean damages as a result of weather, soil conditions, or general damage. Right here's a sensible guide to aid you take care of a leaning or damaged fence message efficiently.
Action 1: Recognize the Issue
Before starting repair services, assess the cause of the leaning or damages. Usual problems include:
Rotting Wood: Moisture can create wooden posts to degeneration.
Shifting Dirt: Erosion or loose dirt may result in instability.
Influence Damage: Articles can be damaged by accidents or severe weather.
Improper Installment: Shallow blog post openings or insufficient anchoring can lead to leaning.
Understanding the root reason will help you determine the most effective fixing approach.
Action 2: Gather the Required Devices and Products
Right here's what you'll require:
Shovel or article opening digger
Level
Blog post brackets or anchors
If needed),Replacement article (.
![]()
Crushed rock and/or concrete mix
Drill or hammer
Safety gear (handwear covers, goggles)
Step 3: Repairing a Leaning Fencing Blog Post
If the message is leaning but structurally audio, follow these steps:
Reveal the Base. Dig around the message to subject the base, eliminating loosened dirt or particles. This will allow you to reposition it.
![]()
Straighten the Article. Press or draw the message upright, checking its alignment with a level. Use momentary braces or stakes to hold it in location.
Reinforce the Structure
Gravel Method: Add gravel around the base, tamping it to provide stability.
Concrete Technique: Mix and put concrete right into the opening around the article. Ensure the article stays degree as the concrete collections.
Secure the Message. Let the concrete remedy for at the very least 24-48 hours before eliminating risks or dental braces.
Step 4: Changing a Damaged Fencing Message
If the post is damaged, rotten, or otherwise beyond repair, changing it is the ideal choice.
Eliminate the Old Message. Remove the old article, consisting of any type of concrete ground. Utilize a lever or article puller for stubborn articles.
Prepare the Hole. Tidy and expand the opening as needed. For optimum support, the opening ought to be one-third the size of the message.
Install the New Post. Place the new blog post into the hole. Make use of a degree to guarantee it's straight and temporarily brace it.
Secure and fill up. Add crushed rock for drainage at the base, after that fill the opening with concrete or tightly loaded dirt. Permit the concrete to establish prior to affixing the fence panels.
Step 5: Prevent Future Issues.
To preserve your fencing and prevent comparable problems:
Use pressure-treated wood or metal articles for raised sturdiness.
Make sure appropriate drain around the base to protect against water damage.
Conduct routine evaluations to determine potential problems early.
Final Thought
Repairing a leaning or damaged fencing post doesn't need to be intimidating. With the right tools, products, and strategy, you can restore your fencing to its full capability and appearance. Regular maintenance and positive care will help prolong the life of your fence, ensuring it continues to be a appealing and reliable part of your residential or commercial property for years ahead.
Action 1: Recognize the Issue
Before starting repair services, assess the cause of the leaning or damages. Usual problems include:
Rotting Wood: Moisture can create wooden posts to degeneration.
Shifting Dirt: Erosion or loose dirt may result in instability.
Influence Damage: Articles can be damaged by accidents or severe weather.
Improper Installment: Shallow blog post openings or insufficient anchoring can lead to leaning.
Understanding the root reason will help you determine the most effective fixing approach.
Action 2: Gather the Required Devices and Products
Right here's what you'll require:
Shovel or article opening digger
Level
Blog post brackets or anchors
If needed),Replacement article (.
Crushed rock and/or concrete mix
Drill or hammer
Safety gear (handwear covers, goggles)
Step 3: Repairing a Leaning Fencing Blog Post
If the message is leaning but structurally audio, follow these steps:
Reveal the Base. Dig around the message to subject the base, eliminating loosened dirt or particles. This will allow you to reposition it.

Straighten the Article. Press or draw the message upright, checking its alignment with a level. Use momentary braces or stakes to hold it in location.
Reinforce the Structure
Gravel Method: Add gravel around the base, tamping it to provide stability.
Concrete Technique: Mix and put concrete right into the opening around the article. Ensure the article stays degree as the concrete collections.
Secure the Message. Let the concrete remedy for at the very least 24-48 hours before eliminating risks or dental braces.
Step 4: Changing a Damaged Fencing Message
If the post is damaged, rotten, or otherwise beyond repair, changing it is the ideal choice.
Eliminate the Old Message. Remove the old article, consisting of any type of concrete ground. Utilize a lever or article puller for stubborn articles.
Prepare the Hole. Tidy and expand the opening as needed. For optimum support, the opening ought to be one-third the size of the message.
Install the New Post. Place the new blog post into the hole. Make use of a degree to guarantee it's straight and temporarily brace it.
Secure and fill up. Add crushed rock for drainage at the base, after that fill the opening with concrete or tightly loaded dirt. Permit the concrete to establish prior to affixing the fence panels.
Step 5: Prevent Future Issues.
To preserve your fencing and prevent comparable problems:
Use pressure-treated wood or metal articles for raised sturdiness.
Make sure appropriate drain around the base to protect against water damage.
Conduct routine evaluations to determine potential problems early.
Final Thought
Repairing a leaning or damaged fencing post doesn't need to be intimidating. With the right tools, products, and strategy, you can restore your fencing to its full capability and appearance. Regular maintenance and positive care will help prolong the life of your fence, ensuring it continues to be a appealing and reliable part of your residential or commercial property for years ahead.
Latest Posts
Understanding Roof Service Warranties: What Homeowners Should Know
Published May 14, 25
1 min read
Improve Your Home's Outside with Weathercraft's Exterior siding Solutions
Published May 14, 25
1 min read
Specialist Commercial Roof Solutions in North Platte, Nebraska
Published May 14, 25
2 min read
More
Latest Posts
Understanding Roof Service Warranties: What Homeowners Should Know
Published May 14, 25
1 min read
Improve Your Home's Outside with Weathercraft's Exterior siding Solutions
Published May 14, 25
1 min read
Specialist Commercial Roof Solutions in North Platte, Nebraska
Published May 14, 25
2 min read